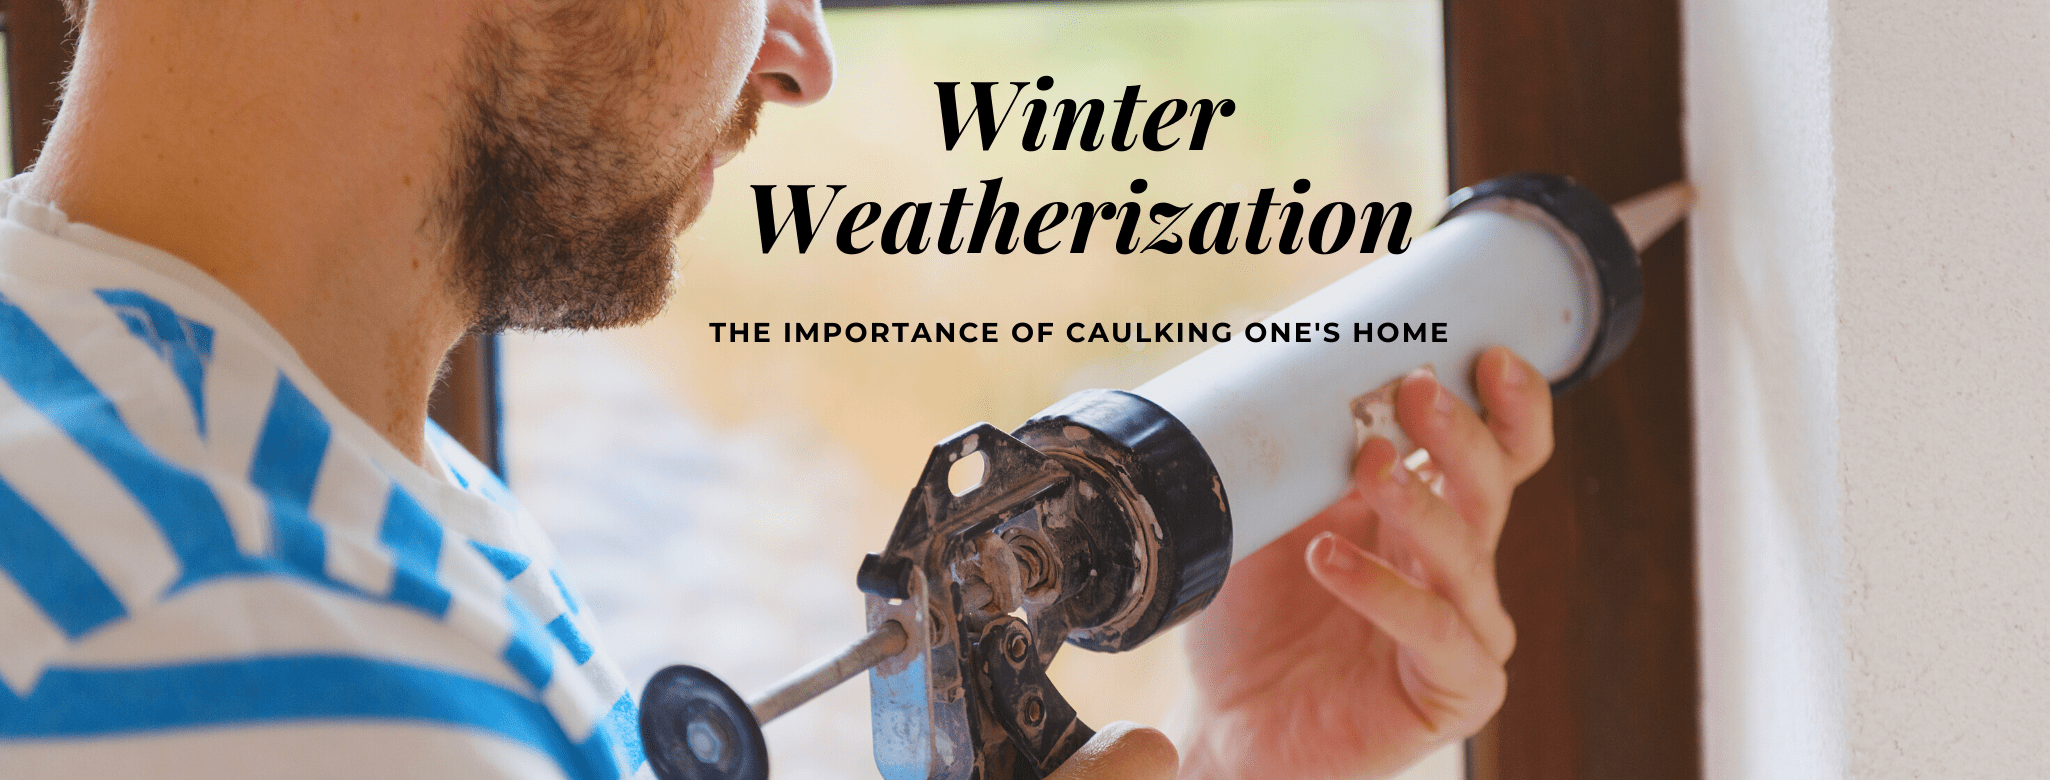
Weatherizing Your Home For Winter: Caulking
Choosing the right caulking to prevent air and water leakage is crucial for the longevity and comfort of your home, especially with our damp climate and abundance of older homes. Adding permanent caulking is an easy and long-lasting way to seal up any cracks around windows, door frames, tiles, or even your home’s foundation! If you are a renter, there is still a non-permanent form of caulk that can help you seal up air leaks in your home this winter, so there truly is something for everybody’s project. Already feeling nervous about the idea of trying this? Working with caulk is simple and cheap, and there are many different kinds for all skill levels. For more information on weatherizing your home, check out our free DIY Weatherization and DIY Insulation workshops!
Choosing the right caulk for your needs
In order to choose the right kind of caulking, we suggest answering the questions below and use them to guide you through the table at the end of this article to choose the right kind of caulking for each project.
- What do you need to seal up?
- e.g. a broken window, a leaky gutter, a crack around door frame, etc.
- Will you be working on an interior or exterior surface?
- What materials will the caulk need to bind to?
- Will the caulking be exposed to the elements – moisture and/or extreme temperatures?
- How wide is the crack you need to fill?
- Pro tip: if the crack you need to fill is larger than a quarter inch, squeeze foam tape into the crack and apply caulk on top of it!
Setting up your project for success:
- Gather materials
Before starting your caulking project, gather the materials needed. Some kinds of caulk require a caulking gun and a metal caulking tool –reference the table below to see if yours will. You may also want to have some masking tape if this is your first time using caulk to make sure you keep the liquid in a nice, straight line.
- Choose the right time
It’s important to apply caulk to a dry surface, and if your project is on the outside of your house, pick a date when there is not likely to be rain for at least a few days after application to ensure a good curing process. Around Portland, that’s why it’s smart to finish projects requiring caulking before the winter rains swing into full effect!
- Clean the surface
Before applying fresh caulk, be sure to scrape away any old caulk that may be left from before. Applying new caulk over old will cause it to shrink away from the material it’s applied to. You’ll also want to clean the area of any dirt or debri before applying caulk to keep a nice tidy finish.
Step by step instructions:
- Prepare the surface by cleaning and removing old caulking, which is best done with a box cutter or razor blade. Wipe the area down with rubbing alcohol to ensure all residue is gone.
- Tape the area, keeping it a consistent distance from the joint you will be applying caulk to. While not absolutely necessary, this step will help make your job look clean and professional!
- Cut the tip off your caulk tube. This can be done with scissors or a box cutter, but make sure not to cut the tube too far down. This would cause the opening to be too large, making it harder to create a smooth and manageable line of caulking.
Pro tip: if you have caulk left in the tube when you’re done with your project, squeeze a small amount out of the tip to harden on top. This will prevent caulk from hardening inside the nozzle and allow for easy use next time.
- Apply caulk to the area. Depending on what kind of caulk you use, a caulking gun may be recommended. When applying to a lengthy area, such as around a door frame, cover just a couple feet at a time. This makes it easier to smooth the caulk as you go and prevent uneven application.
Pro tip: apply light, even pressure to the tube or caulking gun to maintain a smooth bead of caulk. If it’s your first time, try practicing different pressures and speeds of movement on a piece of paper before applying to the joint you would like to fill.
- Smooth the caulk every few feet to push the material further into the joint and get a more professional look. When using water-based caulks, you can use a wet finger or ice cube to smooth the caulk. If using other kinds of caulk, you will want to use the back of a spoon or a caulking tool from your hardware store.
Common Types of Caulk
Below are some of the most commonly used forms of caulk. Once you’ve identified which type will be best for your project, do some additional research or ask a sales associate at your hardware store about safety information. Some caulks are flammable or produce toxic fumes during the curing process, so read carefully to determine which will be the best fit for your home. You can find most kinds of caulk in squeezable tubes, meaning you won’t need a caulking gun. However, if you want superior control and a more professional look, you can purchase a caulking gun.
**No caulk should be used on areas of doors or windows that you wish to remain moveable**
| Kind of Caulk | Use | How-to | Pros | Cons | Compatible materials |
| Water-based (latex) caulk–Sub-types: Vinyl-latex and Acrylic-latex | Fill gaps between baseboards, interior windows/ doors, stop air leaks from cracked windows, fill nail holes. Use on areas that stay above 40 degrees. | Use a wet, gloved finger or back of a spoon to smooth after application. Clean excess material up with water while caulk is still wet. | Easiest to work with and apply, cleans up with water, can be painted, has little odor, non flammableVinyl-latex: lasts 2-5 yearsAcrylic-latex: lasts 10-15 years | Not flexible after application, will shrink over time, not very useful on exterior surfaces | Vinyl latex: wood, drywallAcrylic-latex: wood, dry wall, glass, masonry NOT compatible with metal |
| Siliconized acrylic caulk | Better for outdoor and areas exposed to excess moisture than vinyl/ acrylic-latex. Fill gaps on exterior windows, door frames, or use “tile and tub” versions for your bathroom. | Clean while still wet with water, and use the back of a spoon or a damp gloved finger to smooth. Apply when temperatures are above 40 degrees and rising. | More flexible than vinyl/acrylic latex caulk. Lasts 20-25 years, withstands moderate temperature changes, mildew resistant, moisture tolerant, non flammable and paintable after dry. | Will not cure well in temperatures under 40 degrees. | Wood, ceramic, masonry, glass, drywall NOT compatible with metal |
| Silicone Caulk | Totally water proof, great for use in the bathroom or kitchen. It is also great for sealing metal joints, like plumbing. | Clean with dry cloth while caulk is fresh, if dried you can clean with mineral spirits or isopropyl alcohol. Use the back of a spoon or a caulking tool to smooth. | Very flexible, good for joints that will have a lot of temperature change, mildew-resistant, water proof, adheres well to smooth surfaces, lasts 20-25 years | More difficult to smooth and clean, smelly, cannot paint over it.Pro tip: get “odorless” or “neutral cure” silicone caulk for reduces fumes during the curing process | Metal, glass, ceramic, plastic, wood, masonry |
| Rope Caulking | Great for renters, will temporarily plug holes and cracks on window/door frames or on baseboards/ floors. *CEP distributes packs of this for free in our Winter Weatherization Workshop kit | Gently press the putty onto the crack or area you wish to plug up. The putty will remain soft and removable, without permanently sticking to any surfaces. | Best option for renters wanting a quick fix, easy to use, not-permanent, great for helping with slow air leaks | Will not permanently fix a problem, not cosmetically attractive | Anything you can pile it on top of |
| Butyl Rubber | Great for sealing up water leaks in gutters or around the foundation of a home. This also a good option for joining two different kinds of materials together. Doesn’t stick well to painted surfaces. | Use a caulking gun to apply and a caulking tool to smooth. Practice on a piece of paper or cardboard before applying to joint. Clean with mineral spirits or isopropyl alcohol | The best water sealant, especially for foundations and gutters. | Slow to cure, more difficult to work with, only lasts about 5 years, very flammable, toxic fumes (avoid use indoors) | Masonry, concrete, wood, glass, metal, ceramic. |
Now that you’ve identified which material will be best for weatherizing your home this fall, it’s time to get to work before the rains and cold weather hit! For more information on weatherizing your home, check out our free DIY Weatherization workshop! Income-qualified residents get a free kit of renter-friendly weatherization materials to keep their home warm and comfortable this winter.
PHOTOS (collective commons)

Old cracked caulking along bathroom window

Standard caulking guns have an area to cut the tip off your caulk and punch the seal

Any small gaps can be sealed off with caulk to prevent air flow
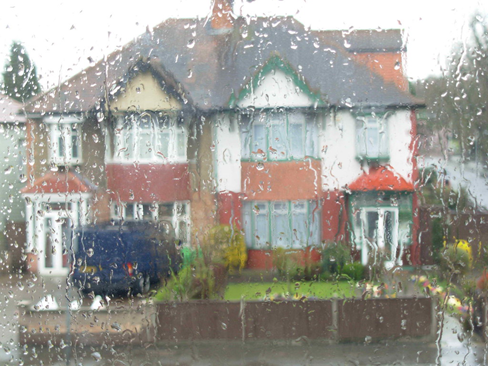
Rainy weather